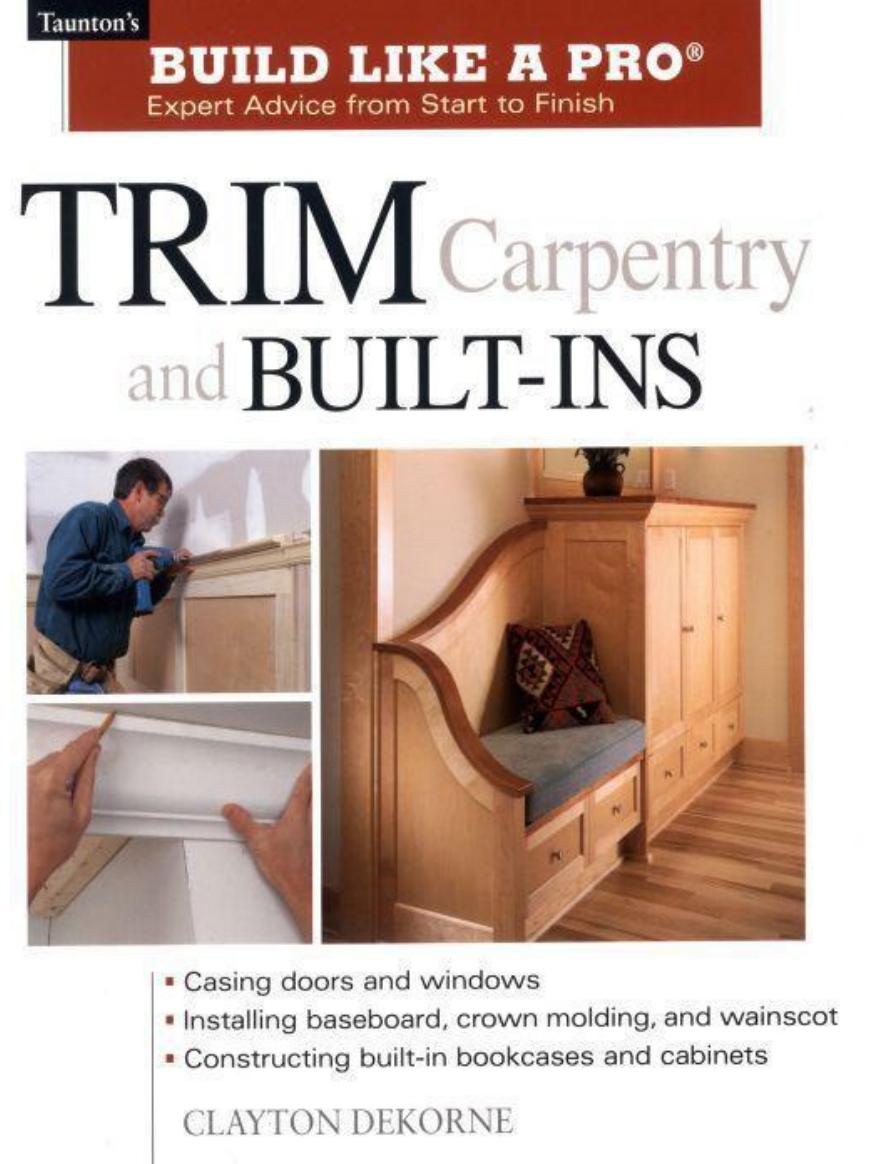
Trim Carpentry & Built-Ins (Taunton's Build Like a Pro) by DeKorne Clayton

Author:DeKorne, Clayton [DeKorne, Clayton]
Language: eng
Format: epub, pdf
Publisher: Taunton Press
Published: 2002-09-08T17:00:00+00:00
Inside corners
You can cut inside corners in two ways: with a cope or with a miter. As mentioned earlier, I prefer to cope all crown molding. However, MDF materials can be joined with a compound miter, which is the fastest and simplest cut. Cut both pieces to equal length with mirror-image miter/bevel cuts. I think of mitered pieces as equal mates—both meet in the middle.
Finishing a cope may require several trial fits to make sure that it is back-cut far enough.
A coped joint, on the other hand, is a marriage of complete opposites. One length of molding is cut square and butts tight to the wall. The second piece—the coped end—“keys” to the profile of the butted piece at a right angle.
Inside miter. To cut an inside miter, measure the length of the molding along the bottom edge. Remember that the long point of all inside miters will be on the bottom edge. Set up the molding exactly as you would for an outside miter but cut the opposite, or reverse, bevel.
For inside miters to fit well, the wall and ceiling planes must be nearly square and reasonably flat. Otherwise, the molding will twist and the inside miter won’t fit tightly without a lot of fuss.
Coped joint. A coped inside miter starts with a compound miter—the same one used for an inside miter (see the top left photo on p. 86). The contoured edge along the face of the cut defines the profile to be coped. If you’re cutting with a standard chopsaw, set the molding in the saw just as you would for an outside miter. However, rotate the table so that you cut the opposite, or reverse, bevel. This exposes the face of the crown, giving you the exact shape of the profile to cut with the coping saw.
Next, mark the edge of the profile with the flat of a pencil lead, highlighting the contoured edge so that you can cut along the line with a coping saw. I always back-cut slightly by tilting the coping saw past 90 degrees so that the meeting piece of molding can “pass by” cleanly. The coped piece should intersect only along the profile line. When cutting with a coping saw, I typically saw toward the curve from different directions so that I don’t have to twist the saw and risk breaking the fragile edge of the profile. After cutting out the bulk of the material, smooth out the back-cut with a rasp, until you have a smooth, sharp feathered edge. To install the coped piece, predrill holes to avoid splitting the piece.
+ SAFETY FIRST
Download
Trim Carpentry & Built-Ins (Taunton's Build Like a Pro) by DeKorne Clayton.pdf
This site does not store any files on its server. We only index and link to content provided by other sites. Please contact the content providers to delete copyright contents if any and email us, we'll remove relevant links or contents immediately.
Audition by Ryu Murakami(4117)
The Body: A Guide for Occupants by Bill Bryson(3843)
Adulting by Kelly Williams Brown(3691)
Housekeeping by Marilynne Robinson(3428)
Zero Waste Home by Bea Johnson(3304)
Be in a Treehouse by Pete Nelson(3242)
Seriously... I'm Kidding by Ellen DeGeneres(3110)
Better Homes and Gardens New Cookbook by Better Homes & Gardens(2970)
Barkskins by Annie Proulx(2890)
The Healing Self by Deepak Chopra(2812)
Hedgerow by John Wright(2787)
The Life-Changing Magic Of Tidying Up- The Japanese Art Of Decluttering And Organizing (v5.0) by Marie Kondo(2757)
Spark Joy by Marie Kondo(2689)
The Genius of Japanese Carpentry by Azby Brown(2621)
The Cellar by Natasha Preston(2610)
Work Clean by Dan Charnas(2570)
120 Days of Sodom by Marquis de Sade(2451)
The Book of Numbers by Peter Bentley(2418)
A Monk's Guide to a Clean House and Mind by Shoukei Matsumoto(2413)
